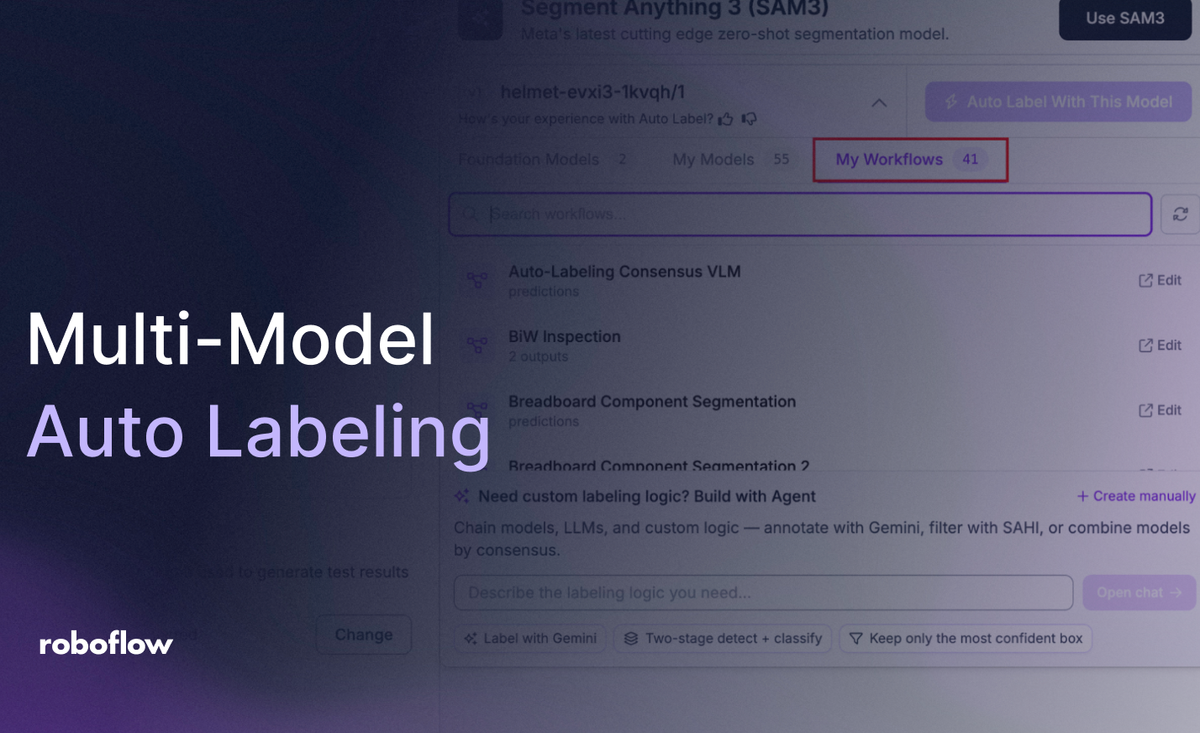
Roboflow now integrates Workflows directly into Auto Label, so you can run custom pipelines serverlessly on your unannotated images. Rather than being tied to one default model, you can bring any mix of models or tools straight into the annotation interface. In this post, we build a sample multi-VLM workflow from scratch and then show how to launch it on a batch of images with just a few clicks.
Roboflow has officially brought the full power of Workflows directly into
__Auto Label__This means you can easily build any workflow utilizing the full extent of the top VLMs and use them to annotate your datasets.
Multi-Model Auto Labeling Benefits #
The macro benefit of this update is freedom. You are no longer locked into whatever default cloud model a platform assigns to you. If you have a specific AI model combination or a suite of different specialized tools you want to utilize for labeling, you can now bring them all directly into the annotation interface.
Whether you want to use speed-optimized detectors, advanced reasoning systems, or stack platforms like OpenAI, Google, and Anthropic next to each other, Workflows acts as your unconstrained development canvas. You get total control over how your data is perceived, filtered, and categorized before it ever hits your training set.
The Concept: AI Consensus and Rules-Based Filtering #
When you use a single model to label data, it has no safety net. If you ask it to review its own work, it usually blindly supports its original guesses.
By combining different model families (like Google Gemini, OpenAI's GPT, and Anthropic's Claude) into a single Workflow, you eliminate uncorrelated errors. Gemini might have a blind spot on a specific type of object, but it's highly unlikely that ChatGPT and Claude will share that exact same blind spot at the exact same coordinates.
By setting up a rules-based consensus engine (e.g., a 2-of-3 majority vote), you ensure that a label is only written to your dataset if the models independently agree.
Building the Multi-Model Auto-Labeler #
To demonstrate exactly how this new integration works, let's build a sample workflow from scratch. If you already have a workflow in mind, you can skip this section and go automatically to the auto-labelling section. We’ll make a live 2-of-3 consensus engine that acts as your autonomous data labeling team. This serves as the perfect example for how you can stack different VLMs to completely automate your annotation pipelines without writing a single line of code.
Step 1: Access the Roboflow Platform
Initialize the workspace by logging into your Roboflow account. If you are a new user, you can set up a free tier to begin building and organizing your custom vision projects.
Step 2: Create a New Workflow
Navigate to the Workflows tab in your dashboard sidebar and click Create Workflow. Choose a blank workflow or select an object detection foundation layout to open up the interactive node graph canvas.
Step 3: Configure Inputs & Class Setup
To start off, add a centralized Detection Classes block to your workflow. This acts as the control for your entire pipeline, ensuring every VLM is searching for the exact same target objects.
Because these models are open-vocabulary, this block makes your workflow incredibly versatile. If you want to pivot from detecting safety helmets on a construction site to spotting cosmetic defects on a factory floor, you don't have to reconfigure three separate models. Simply update the target class name in this single block, and your entire workflow adapts instantly.
Step 4: Add the VLMs
To demonstrate the massive capabilities of this new feature, we can pull in all three major frontier model families (Gemini, ChatGPT, and Claude) to run simultaneously in parallel. This shows just how flexible your pipeline becomes when you aren't locked into a single provider, allowing you to orchestrate a true multi-model ecosystem.Drop three separate provider blocks onto your canvas: proposal_detector (Google Gemini), verifier_detector_b (OpenAI), and verifier_detector_c (Anthropic Claude). Each of these blocks is wired directly to your primary image input and your centralized set_detection_classes block. This ensures all three foundation models are evaluating the exact same visual data against your exact target labels at the exact same time.
Step 5: Add the VLM As Detector Blocks
Raw text and coordinate responses from multimodal models need to be structured into format-compliant computer vision data. To handle this natively without a single line of code, drop three VLM As Detector blocks directly underneath your AI providers.
Step 6: Route into Rules-Based Consensus Filtering
Connect the outputs of all three models into a single Detections Consensus block (verified_consensus). Inside its configuration settings, change the required_votes parameter to 2. If a model experiences a random hallucination, it won't get a second vote from the other families and will be automatically filtered out.
Step 7: Direct the Workflow Outputs
You can choose to add visualization branches like count, draw_boxes, and draw_labels for manual debugging.
However, when building a workflow for Auto Label, your final output channel must return only the raw, unadorned prediction data array from your consensus or detector block. Do not return visualized images or annotated overlays to this channel. The Auto Label engine just needs the structured coordinate data; it handles all the rendering, object scaling, and backend database injection for you automatically.
How to Use Your Workflow in Auto Label #
Once you've built and saved your workflow, launching it on an unannotated batch of images takes just a few clicks.
Step 1: Create your project and add images
First, if you haven’t done so already, sign into Roboflow, create a new project or go to an existing project where you need to add annotations to images.
Add some images that you want to annotate:
Step 2: Choose Your Classes
Because we have a highly customizable workflow, simply go into the detection classes block and change it to your preferred detection class. For this project, we can simply state “dog”
Step 3: Use your Workflow to Annotate your Images
Go back to the annotate tab and select “auto-label entire batch”.
And select your preferred workflow. If you want to use the one built today, fork using from the Roboflow templates page.
These are the results of the workflow in action:
Get Started with Multi-Model Auto Labeling #
By matching the flexibility of Workflows with the scale of Auto Label, you can construct incredibly advanced guardrails for your data engineering pipelines.
This feature is a massive step forward for teams looking to eliminate human error while drastically scaling up their dataset sizes. Fork this exact pipeline layout from this workflow, and let the industry's best models start labeling your data for you.
Cite this Post
Use the following entry to cite this post in your research:

[Aarnav Shah](https://blog.roboflow.com/author/aarnavshah/). (Jul 10, 2026).
Multi-Model Auto Labeling with Roboflow Workflows. Roboflow Blog: https://blog.roboflow.com/multi-model-auto-labeling/