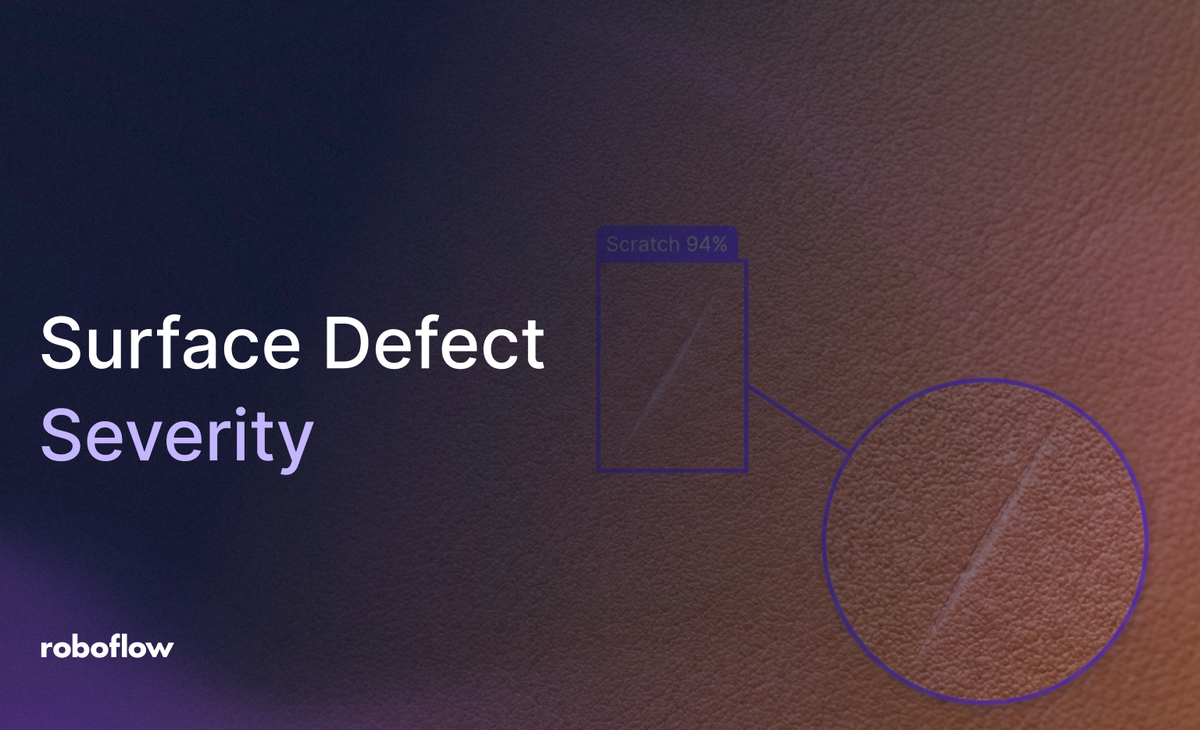
Defect severity classification means scoring each detection instead of just flagging it: pair a trained RF-DETR model with a Custom Python block that checks bounding-box area, so large defects fail the piece automatically, borderline ones route to human review, and clean images pass straight through. Built as a Roboflow Workflow on a real leather inspection dataset, with every result logged to Vision Events for traceability.
A model that only says "defect found" doesn't tell a quality team what to do next. A hairline scratch and a four-inch tear both start the same alert, and someone still has to walk over, look at the piece, and decide whether it ships, gets reworked, or gets scrapped. That manual triage step is often the slowest part of inspection, even after the detection model is running in production.
In this guide, we'll build a Workflow that closes that gap. A custom-trained RF-DETR model finds surface defects on leather, and a severity layer built with a Custom Python Block turns each detection into a PASS, REVIEW, or FAIL decision based on how large the defect actually is.
Large defects fail automatically. Borderline ones get flagged for a person to check. Clean pieces pass straight through, no manual step required.
We'll use a public leather defect dataset from Roboflow Universe to keep the tutorial self-contained, but the same severity logic works on any defect detection model. By the end, you'll have a Workflow that detects, classifies severity, visualizes results, and logs every inspection to Vision Events.
Machine-Vision AI for Surface Defect Severity Assessment #
Go to Roboflow Universe and search for a
__leather defect detection dataset__This dataset contains leather surface images annotated with different defect types, allowing the model to learn the visual patterns associated with damaged areas. The examples include variations in defect appearance, size, and position, which helps the model generalize better to new inspection images.
Fork the dataset into your workspace to create a copy that includes all annotations. After that, you can create a dataset version, apply preprocessing and augmentations, and prepare it for training with RF-DETR.
Train RF-DETR
In your forked project, open the Versions tab and create a new dataset version.
Once the dataset version is ready, select Custom Train and choose RF-DETR as the training model. The training process runs through Roboflow's hosted pipeline, removing the need to manage local training infrastructure.
During training setup, review the training summary before starting the run to make sure the configuration is correct.
Confirm the selected model, dataset version, image count, train/validation/test split, input resolution, and estimated training time. Once the configuration is verified, start the training process.
After training completes, review the evaluation results, including metrics such as mAP,
precision, and
recall, to understand how well the model detects leather surface defects on unseen images.
__F1 score__The trained RF-DETR model is now ready to be added to our workflow.
Build the Workflow
Here's the workflow we'll make. Here is what each block does in this Workflow:
Object Detection Model: Runs RF-DETR to detect defects with confidence scores.Bounding Box Visualization: Draws boxes around defects.Label Visualization: Displays defect classes.Custom Python Block: Classifies results as PASS or FAIL.Text Display: Shows inspection status.Roboflow Vision Events: Logs inspection data.Outputs: Returns the labeled image and JSON report.
Step 1: Add the trained model as an Object Detection Block
Open the Workflows tab and create a new Workflow. Roboflow automatically adds the Image Input and Outputs blocks.
Click the plus icon, search for Object Detection Model, and add it to the Workflow. Connect the image input and select your trained RF-DETR model using the model URL.
Set the confidence threshold to 0.4. This allows the model to pass detected defects above 40% confidence to the next stage for quality classification.
The block returns each detected defect with its bounding box and confidence score, which will be used by the Custom Python Block to determine the final inspection result.
Step 2: Add the Custom Python Block (Severity Logic)
Add a Custom Python Block named "Quality Report". Connect the predictions input to object_detection_model.predictions. Add three outputs: report (dictionary), display_text (string), and qc_result (string).
Click Edit Code to open the full editor and add the inspection logic:
def run(self, predictions):
    count = len(predictions) if predictions is not None else 0

    AREA_THRESHOLD = 9000

    areas = []
    try:
        areas = [float((x2 - x1) * (y2 - y1)) for x1, y1, x2, y2 in predictions.xyxy]
    except Exception:
        areas = []

    severe = [a for a in areas if a >= AREA_THRESHOLD]

    if count == 0:
        qc_result = "pass"
        display_text = "QC: PASS | No defects"
    elif severe:
        qc_result = "fail"
        display_text = f"QC: FAIL | {len(severe)} severe defect(s)"
    else:
        qc_result = "review"
        display_text = f"QC: REVIEW | {count} minor defect(s)"

    report = {
        "result": qc_result.upper(),
        "total_detections": count,
        "severe_detections": len(severe),
        "largest_area": max(areas) if areas else 0,
        "area_threshold": AREA_THRESHOLD,
    }
    return {"report": report, "display_text": display_text, "qc_result": qc_result}
This block turns each detection into a severity decision based on bounding-box area. An image with no defects passes. If any defect is larger than the area threshold, the image fails. If defects are present but all fall below the threshold, the image is routed to review rather than rejected outright. The AREA_THRESHOLD value is set in pixels and should be tuned to your image resolution and how large a defect needs to be before it counts as severe. The display_text output drives the status shown on the image, while report stores the full inspection details, including detection count, severe count, and largest defect area, for the JSON output.
Once the code is saved, the block is ready to process detections and generate quality reports for each inspection.
Step 3: Add Bounding Box Visualization
Add a Bounding Box Visualization block. Connect Input Image to inputs.image and Predictions to object_detection_model.predictions. This adds a bounding box around each detected defect.
The block uses the model predictions to overlay bounding boxes on the original image. Each box highlights the location of a detected defect, making the inspection results easier to interpret.
Step 4: Add Label Visualization
Add a Label Visualization block after the Bounding Box Visualization block. Connect Input Image to bounding_box_visualization.image and Predictions to object_detection_model.predictions. This adds the defect class name and confidence score next to each box.
At this stage, the image shows the detected defects, their locations, and confidence scores. The next steps use this information to determine the final inspection result.
Step 5: Add Text Display
Add a Text Display block. Connect Input Image to label_visualization.image. In the Text Parameters field, use the display_text output from the Quality Report block.
Set the text style to white on a semi-transparent black background. Use relative positioning to keep the text placement consistent across different image sizes.
The final image now combines the detected defect boxes from the previous steps with the pass, review, or fail inspection result from the Quality Report block.
Step 6: Add Vision Events
Add a Roboflow Vision Events block. Connect Input Image to inputs.image, Output Image to text_display.image, and Predictions to object_detection_model.predictions.
Set the Event Type to "Quality Check" and add a descriptive use case such as "LTHR Detection QC". You can also include custom metadata like display_text and model_id to improve traceability.
This logs each inspection, including the original image, labeled output, detected defects, and final status, without affecting the Workflow outputs.
Step 7: Configure Outputs
Configure the Workflow outputs. Set the output image to come from the Text Display block and the quality report from the Quality Report block's report output.
With all blocks connected, the complete Workflow looks like this:
From this point, every input image returns an annotated result, a structured quality report, and a logged inspection record automatically.
Results #
Test Case 1: Large Cuts, Status FAIL
A leather surface with four detected cuts, each covering a large area, returns a FAIL status. Because every detection is above the area threshold, the block counts all four as severe defects and rejects the piece.
The overlay reads "QC: FAIL | 4 severe defect(s)", and the report records all four as severe, with the largest defect covering 53020 px², far above the 9000 threshold.
This is a clear rejection case. The defects are large enough to affect the quality and value of the finished leather, so the piece is failed automatically without needing human review.
Test Case 2: Large Folds, Status FAIL
A leather surface with three detected folds, each spanning a large area, returns a FAIL status. Every detection sits above the area threshold, so the block counts all three as severe defects and rejects the piece.
The overlay reads "QC: FAIL | 3 severe defect(s)", and the report records all three as severe, with the largest defect covering 97109 px², far above the 9000 threshold.
Like the previous case, this is a clear rejection. The defects cover too much of the surface to pass, so the piece is failed automatically without human review.
Test Case 3: Small Cut, Status REVIEW
A leather surface with a single small cut returns a REVIEW status instead of a FAIL. The cut is detected with high confidence (0.78), but its bounding-box area falls below the threshold, so it is treated as a minor defect and routed for human review rather than automatic rejection.
The overlay reads "QC: REVIEW | 1 minor defect(s)", and the report shows the detection with an area of 8584 px², just below the 9000 threshold.
This case shows why severity is measured by size rather than confidence. A confident detection does not automatically mean a serious defect, so a small mark is sent for a closer look instead of failing the piece outright. This is the behavior that separates severity assessment from simple defect detection.
Test Case 4: Clean Leather, Status PASS
A clean leather surface with no detected defects returns a PASS status with an empty detections list.
The overlay reads "QC: PASS | No defects", and the report confirms zero detections.
This is the ideal production case. The piece meets quality requirements with nothing flagged, and it moves through inspection without any manual step.
Production Deployment #
The Workflow is designed for real manufacturing environments, not just a prototype. It can run on edge devices like NVIDIA Jetson for fast on-site inspection or through the Roboflow API for centralized monitoring across production systems.
FAIL cases can be collected and added back into the dataset for future training, helping the model improve with real production examples. Roboflow Vision Events tracks defect rates across batches, suppliers, and production lines, while the same Workflow can be deployed across multiple inspection points to provide consistent PASS or FAIL decisions.
Use Roboflow Agent #
You can also use Roboflow Agent to build this solution. Opened from the Agent tab in your workspace sidebar, Roboflow Agent builds Workflows from a plain-language prompt.
In this case, just describe a workflow that runs your trained RF-DETR leather model, draws boxes and labels on each detection, classifies severity into PASS, REVIEW, or FAIL in a Custom Python Block based on defect area, overlays that result as text on the image, and logs every inspection to Vision Events.
It also debugs. The video below shows the agent building this inspection workflow.
Conclusion #
Across the four test cases, the same Workflow made four different calls from one severity rule: two pieces with large cuts and folds failed automatically, a single small cut got routed to review instead of an automatic rejection, and a clean surface passed with nothing flagged. A confident detection and a serious defect aren't the same thing. Treating them as one means failing pieces that didn't need it, or shipping ones that did.
The same Workflow runs where the inspection happens. Deploy it to an edge device like a Jetson for on-site decisions, or through the Roboflow API for centralized monitoring across multiple lines, and Vision Events tracks defect rates by batch, supplier, or production line either way. FAIL cases feed back into the dataset, so the model keeps improving on the defects it's actually seeing in production, not just the ones it was trained on.
Swap the dataset and the trained model, and the same severity logic, visualization, and monitoring stack runs on any defect detection task.
Further reading:
Cite this Post
Use the following entry to cite this post in your research:
Mostafa Ibrahim. (Jul 30, 2026). Machine-Vision AI for Surface Defect Severity Assessment. Roboflow Blog: https://blog.roboflow.com/surface-defect-severity-assessment/