Build a reproducible benchmark, compare tool use across agents, and test whether a description change reduces unnecessary work while preserving outcomes.
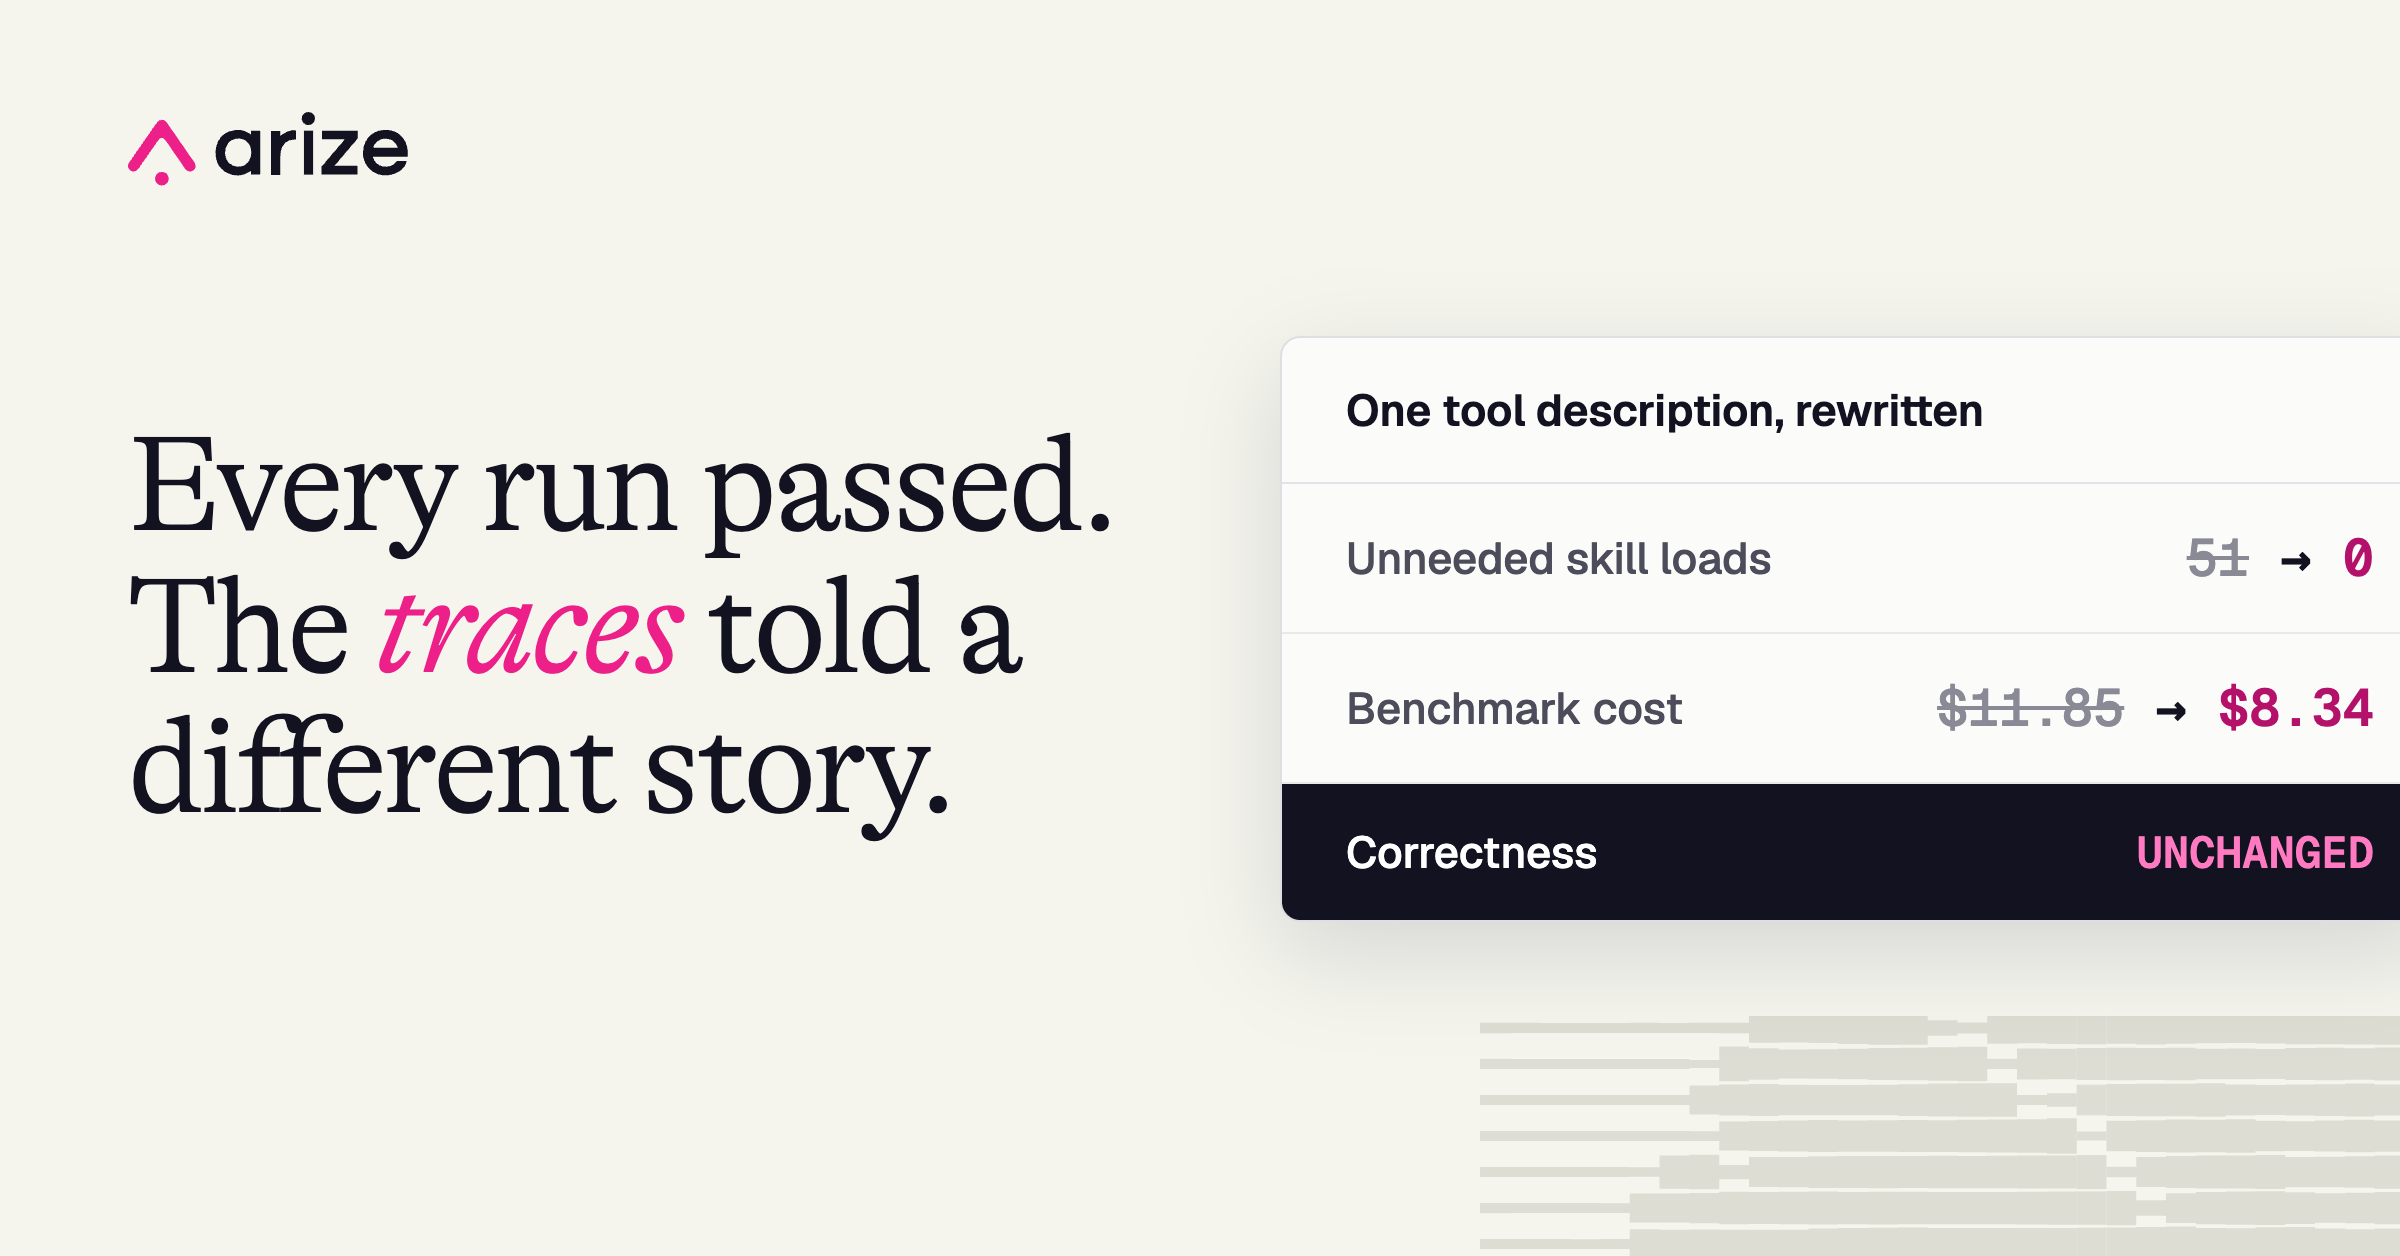
Changing one tool description reduced Codex’s unnecessary skill loads from 51 to zero and lowered the cost of our benchmark run from $11.85 to $8.34. Correctness stayed unchanged on the benchmark. We found the issue by running the same 18 questions three times per agent configuration, then inspecting the tool calls behind the answers in Phoenix.
The benchmark compared PXI, the assistant built into Phoenix, with coding agents connected through Phoenix’s MCP server or CLI. Although several configurations answered every question correctly, they differed in when they loaded skills and how much work they performed.
This walkthrough shows how to test a tool-description change with Harbor and Phoenix. We’ll define the tasks and reference answers, validate the verifier, establish a baseline, and compare a revised description against the same benchmark.
For the background on our benchmarking setup, read How we benchmark AI agents and tools with Harbor and Arize Phoenix. You can also watch the webinar recording.
Build better agents with Arize
Trace, evaluate, and learn. Build agents that work with Arize AX and start tracing your runs today.
Prefer open source? Try Arize Phoenix for self-hosted, open source agent observability.
Before you start #
You’ll need a Phoenix instance to receive the benchmark results, Harbor with the Phoenix plugin installed, and the task and job files from the Phoenix benchmark suite.
Install Harbor and the Phoenix client in the same Python environment:
uv pip install "arize-phoenix-client[harbor]"
If you want to run Phoenix locally, start it in a separate terminal:
uvx arize-phoenix serve
Follow the Harbor integration guide to configure the Phoenix endpoint and authentication. You’ll also need access to your chosen sandbox provider and the credentials required by the agent configurations you plan to test.
Use the same repository revision for the baseline and rerun so that changes to the benchmark files do not affect the comparison.
Key takeaways #
- A benchmark task is a folder: a prompt, an environment, a verifier, and a reference answer. The agent changes; the folder does not.
- Verify the outcome, not the route. Our verifiers never check which tools were called, so one task set runs unchanged against PXI and against coding agents using Phoenix’s MCP server or CLI.
- Keep the trace next to the score. The score said pass every time. The tool count and the cost said something was off.
- The judge is part of the benchmark. Ours needed grading notes before we could trust it.
Step 1: Define each task as a directory #
The first thing you do is decide what the agent will be asked to do, and write each of those asks down as a task. In Harbor a task is a folder with five parts:
instruction.mdis the prompt.environment/is a Dockerfile with the data and services the agent works against.tests/is the verifier. It runs after the agent stops and writes the score toreward.json.solution/is a known-good answer, so you can prove the task is solvable.task.tomlholds settings like timeouts and network access.
Here is one of our 18 tasks: most-failing-tool. Its instruction is one sentence:
Looking at the tool spans recorded in the research-assistant project, which tool failed the most times?
The rest of its folder:
- The environment is a Phoenix server seeded with 117 traces from TRAIL , a public dataset of agent traces. All 18 tasks share it.
- The reference answer is
PageDownTool, produced by the script insolution/. - The settings give the agent 600 seconds and block it from searching the web for the answer.
Every one of our 18 instructions is a question a user might ask about a project: count the traces, find the slowest tool, find where the spend goes. The task is the part that stays fixed while the agent changes.
Step 2: Validate the verifier before scoring agents #
Next, decide how you will know the agent succeeded. That is the verifier, and it deserves the most thought. It is code that runs after the agent stops, looks at what the agent left behind, and writes a score to reward.json. It can look at two things.
- The agent’s final reply, compared to a reference answer.
- The state of the environment, like a row in a database or an annotation on a trace.
Our tasks are all questions, so our verifier reads the reply. For most-failing-tool, the expected answer file is:
{
  "reference": "PageDownTool",
  "notes": "page_down and PageDownTool are equivalent answers. Accept either name when identified as the tool with the most failures. Reject a reply that selects another tool or remains undecided between tools."
}
An LLM judge compares the agent’s reply with the reference answer and grading notes, then returns a reward of 1 or 0. The verifier also records tool_count and turn_count as separate diagnostics. These let us compare how much work each agent performed without changing the correctness score.
The grading notes matter because equivalent answers can use different names. In TRAIL, the same tool appears as both page_down and PageDownTool. Our expected-answer file explicitly accepts either name when the agent identifies it as the tool with the most failures.
Before using a verifier to compare agents, check its decisions against examples you have reviewed. Include correct answers with different wording, incorrect answers that name another tool, and ambiguous replies. Confirm that it accepts equivalent correct answers and rejects answers that do not resolve the question.
Our verifier checks the final answer without requiring a particular sequence of tool calls. That lets us reuse the same tasks across PXI, Claude Code, and Codex while examining differences in their trajectories separately.
For example, one baseline Codex run on costliest-trace-question earned a reward of 1 but required 17 tool calls. The answer passed; the trace gave us a reason to investigate its efficiency.
Step 3: Run every agent in a fresh sandbox #
With tasks and verifiers in place, you run the benchmark. Harbor handles the running: one command fans out across every task and every agent, giving each attempt its own fresh sandbox.
harbor run \
  -c jobs/trail-benchmark-dev.yaml \
  -e daytona \
  -k 3 \
  -n 64 \
  --plugin arize-phoenix
-cpoints at the job file: the task folder plus the five agent configurations.-k 3runs each task three times per agent.-n 64runs 64 sandboxes at once.-e daytonapicks the sandbox provider. Local Docker works too.--plugin arize-phoenixrecords every run in Phoenix.
For each attempt, Harbor:
- Builds a fresh sandbox with the Phoenix server and the seeded traces.
- Runs the agent on the instruction.
- Copies
tests/in after the agent stops, so the agent never sees it. - Runs the verifier and saves the score and the agent’s trajectory.
Our job came to 18 tasks across five agents at three attempts each—270 sandboxes, finishing in about 10 minutes on Daytona. We treat three attempts as the floor, since agents are stochastic and a single pass tells you far less than three.
Step 4: Compare benchmark results in Phoenix #
The Phoenix plugin records the task set as a dataset, each agent configuration as an experiment, and each attempt as an experiment run. Verifier scores appear alongside the agent’s trace, letting us compare correctness and tool use in the same place.
Start by checking infra_ok to identify attempts affected by execution errors. Then compare correctness across the configurations before examining cost, tool counts, and individual traces.
Our baseline contains 18 tasks and five agent configurations. The comparison shown here also includes three rerun experiments from Step 6. Keeping those experiments together lets us examine whether a configuration performs less work on the same tasks after a change.
Step 5: Compare the traces, not just the scores #
Now read the results, and read past the pass rate. Open the experiments side by side in Phoenix and look at tool_count, cost, and the traces, not only reward.
In our baseline job, three configurations passed every task: Codex with the MCP server, Claude Code with the MCP server, and PXI. The scores were identical. The traces were not. The difference was a skill called phoenix-error-analysis. It is for finding failure patterns across many traces, so a question about a single trace, like costliest-trace-question, never needs it. Each agent treated it differently:
- Codex loaded it on 51 of its 54 attempts.
- PXI loaded it on 4 of 54.
- Claude Code never loaded it.
Every one of those runs still returned the right answer, so reward was 1 across the board.
Here is one of the Codex runs. In the trace on the left, the first thing the agent does after its first LLM call is a load_skill tool call. On the right is that call’s input: the skill name. The run passed.
We would not have seen this with one harness, and we would not have seen it with reward alone. It took three agents on the same tasks, with cost and tool_count recorded next to the score, and a trace one click away.
Step 6: Test the revised tool description against the baseline #
The last step is the one you repeat. Pick one thing the traces told you to change, change only that, and run the same job again. For us it was the description of the load_skill tool. After the rerun:
- Codex went from 51 unnecessary skill loads to 0.
- PXI went from 4 to 0.
- The cost of the Codex run dropped from $11.85 to $8.34, about 30 percent.
rewardstayed where it was.
Here is the before and after for Codex in Phoenix. The reward card on the left is unchanged. The cost and token cards on the right drop by about a third.
That is the loop: baseline, read the traces, change one thing, rerun. Once the tasks and verifiers are solid you can hand parts of it to an optimizer like GEPA (we compared it with our own Prompt Learning here), and keep adding tasks as new edge cases show up.
Before you optimize: check the judge #
One warning from doing this ourselves. The LLM judge looked like the easy part. It was wrong a lot of the time. TRAIL calls the same tool page_down in one place and PageDownTool in another, so a correct reply could be graded against the wrong spelling. That is why most of our expected answer files carry the notes field you saw in Step 2. We had to get those notes right before any number the benchmark produced meant anything.
Better infrastructure for running the benchmark does not check the benchmark for you. Read the judge’s decisions against the traces before you optimize against them.
Try it on your own agent #
Choose one recurring task, define the expected result, and validate the verifier before establishing a baseline. Use the trace to identify unnecessary work, then test a tool-description change against the same task and data.
The Phoenix Harbor integration guide covers setup, and the benchmark suite in the Phoenix repository provides the task and verifier examples used here.
If you have questions or want to share what your benchmark revealed, join us in the Phoenix Slack community.