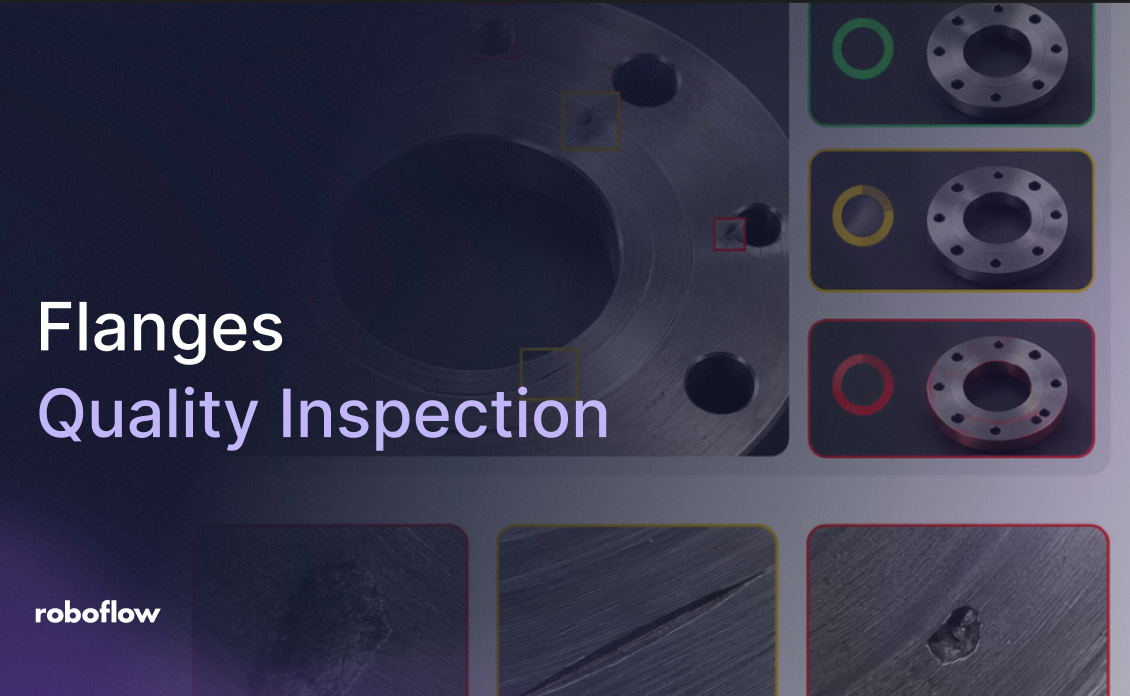
Automate flange quality inspection by training RF-DETR on a labeled flange defect dataset, then wiring it into a Roboflow Workflow that detects cracks, scratches, dents, and pinholes and classifies each image as pass, review, or fail by confidence. Every inspection logs to Vision Events, a Gemini block turns the annotated result into a short operator recommendation, and REVIEW cases feed back into training so manual checks shrink over time.
For flanges, missed cracks, scratches, dents, or corrosion on the sealing face can lead to leaks and expensive downtime. Since these defects are visible on the part itself, computer vision can detect them before the flange is installed.
In this tutorial, you'll train an object detection model with Roboflow using a labeled flange face dataset, then deploy it in a Workflow that classifies each inspection as pass, review, or fail.
By the end, you'll have a complete inspection pipeline that detects defects, highlights their locations, and returns a clear inspection result with recommendations.
How to Automate Flanges Quality Inspection with Vision AI #
We'll start on Roboflow Universe, a large open-source hub for computer vision datasets and models.
Search for a flange defect dataset and explore the available options. This one contains flange images across five classes: scratches, cracks, dents, pinholes, and normal surfaces.
Check the class distribution before forking, as limited examples can affect training.
With the dataset forked, generate your version and start training the model.
Train RF-DETR
In your forked project, go to Train a Model. Roboflow offers two paths here: Custom Training, where you pick the architecture and configure it yourself, or Neural Architecture Search, which designs a model automatically. Select Custom Training.
Under Select Architecture, choose Roboflow RF-DETR (Small).
Under Augmentation, keep the default settings: Flip, 90° Rotate, Rotation (±15°), Shear (±10°), and Brightness (±15%).
Shear is worth watching. It can distort scratches and cracks, making them harder for the model to separate.
Before training, review the Training Summary to confirm the model settings, dataset split, augmentations, preprocessing, time, and cost.
Click Start Training. Roboflow handles the training pipeline, so no local setup or GPU is needed. Once training finishes, copy the model URL from the card and use it in the Object Detection Model block.
Build the Workflow
Here's the workflow we'll build. Here's what each block does in this Workflow.
Object Detection Model: Detects scratches, cracks, dents, and pinholes.** Detections Transformation**: Converts pinyin labels to English.** Bounding Box + Label Visualization**: Draws boxes and labels for each defect.** Custom Python Block**: Removes duplicate detections and classifies each image as** pass**,** review**, or** fail**.** Text Display**: Writes the inspection result onto the image.** Roboflow Vision Events**: Logs every inspection.** Google Gemini**: Generates a short summary and recommended action.** Outputs**: Returns the annotated image, JSON report, and recommendation.
Step 1: Add the trained model as an Object Detection block
Open Workflows and create a new Workflow. The default Image Input and Outputs blocks are added automatically.
Add an Object Detection Model block named defect_detector. Connect inputs.image, paste your model URL, and set the Confidence Threshold to 0.4 and IoU Threshold to 0.3.
This block returns a bounding box and confidence score for each defect detected above 0.4.
Step 2: Add a Detections Transformation block to translate class names
Add a Detections Transformation block named translate_defect_labels and connect it to defect_detector.predictions to rename the class labels.
- *Click Edit under Operations and paste this JSON:
{
  "type": "roboflow_core/detections_transformation@v1",
  "name": "translate_defect_labels",
  "predictions": "$steps.defect_detector.predictions",
  "operations": [
    {
      "type": "DetectionsRename",
      "class_map": {
        "huashang": "scratch",
        "liewen": "crack",
        "pengshang": "dent",
        "shayan": "pinhole",
        "zhengchang": "normal"
      },
      "strict": false
    }
  ],
  "operations_parameters": {}
}
This block translates the pinyin labels to English. Set strict to false so unknown labels pass through unchanged.
Step 3: Add Bounding Box Visualization
Add a Bounding Box Visualization block named bounding_box_visualization. Connect the image and translate_defect_labels.predictions to draw boxes with the English labels.
- *This draws a box around each detected scratch, crack, dent, or pinhole.
Step 4: Add Label Visualization
Add a Label Visualization block named label_visualization. Connect bounding_box_visualization.image and translate_defect_labels.predictions, then set Text to Class.
This adds the English defect name, such as scratch, crack, dent, or pinhole, next to each box. The image now shows what the model detected and where, ready for the next step: deciding the final result.
Step 5: Add the Custom Python Block (triage logic)
Add a Custom Python Block named Quality Check. Connect defect_detector.predictions as the predictions input with type object_detection_prediction.
Add three outputs: report (dictionary), display_text (string), and qc_result (string).
Click Edit Code to open the full editor.
- *This block filters out normal detections, deduplicates overlapping boxes of the same class, translates class names to English, and sorts the result into PASS, REVIEW, or FAIL by confidence:
def run(self, predictions):
    translation = {"huashang": "scratch", "liewen": "crack", "pengshang": "dent", "shayan": "pinhole"}
    normal = {"zhengchang", "normal"}
    min_conf, fail_conf, dedup_iou = 0.4, 0.6, 0.5
    def iou(a, b):
        ix1, iy1 = max(a[0], b[0]), max(a[1], b[1])
        ix2, iy2 = min(a[2], b[2]), min(a[3], b[3])
        inter = max(0, ix2 - ix1) * max(0, iy2 - iy1)
        union = (a[2]-a[0])*(a[3]-a[1]) + (b[2]-b[0])*(b[3]-b[1]) - inter
        return inter / union if union > 0 else 0
    raw = []
    try:
        for name, conf, box in zip(predictions.data.get("class_name", []), predictions.confidence, predictions.xyxy):
            cls = str(name).lower().strip()
            if cls in normal or cls not in translation or conf < min_conf:
                continue
            raw.append({"type": translation[cls], "confidence": float(conf), "box": list(box)})
    except Exception:
        raw = []
    raw.sort(key=lambda d: d["confidence"], reverse=True)
    deduped = []
    for d in raw:
        if not any(d["type"] == k["type"] and iou(d["box"], k["box"]) > dedup_iou for k in deduped):
            deduped.append(d)
    counts = {}
    for d in deduped:
        counts[d["type"]] = counts.get(d["type"], 0) + 1
    max_conf = max((d["confidence"] for d in deduped), default=0.0)
    status = "PASS" if not deduped else "FAIL" if max_conf >= fail_conf else "REVIEW"
    action = {"PASS": "accept", "FAIL": "reject", "REVIEW": "manual_inspection"}[status]
    defect_list = ", ".join(f"{v} {k}" for k, v in sorted(counts.items())) or "None"

    return {
        "report": {"status": status, "action": action, "defect_count": sum(counts.values()),
                   "defects": counts, "max_confidence": round(max_conf, 4), "review_range": "0.4-0.6"},
        "display_text": f"Status: {status}\nDefects: {defect_list}",
        "qc_result": status,
    }
Normal detections are removed first. Duplicate boxes are merged using IoU, keeping the highest-confidence result. display_text shows the summary, while report keeps the full details.
Step 6: Add Text Display
Add a Text Display block named text_display. Connect the image and set the text to {{ $parameters.display_text }} from $steps.quality_check.display_text.
This adds the final inspection result to the image.
- *Set the style to white text on a black background with 0.6 opacity. The image now shows the detected defects and the final pass, review, or fail result.
Step 7: Add a Gemini recommendation block
Add a Google Gemini block named recommendation_vlm. Connect the image from text_display.image.
Set Task Type to Open Prompt, Model Version to Gemini 3.5 Flash, and Thinking Level to low.
Use this prompt:
Inspect the annotated flange image. Use only the visible labels and PASS, REVIEW, or FAIL status. Reply in exactly 3 lines, under 60 words total:
The image already contains the detected defects and inspection result, so the VLM does not perform detection. It simply reads the output and turns it into a short recommendation for the operator.
Step 8: Add Roboflow Vision Events
Add a Roboflow Vision Events block. Connect the image, output image, predictions, and quality_check.qc_result.
Set Quality Check for Flange Quality Inspection, add camera_id and location, enable Fire and Forget, and set a 1-second cooldown.
- *This logs every inspection, the original image, the labeled result, what was detected, and the final status, without changing what the Workflow returns.
Step 9: Configure Outputs
Set three outputs: output_image from text_display.image, quality_report from quality_check.report, and inspection_recommendation from recommendation_vlm.output.
With everything connected, the full Workflow looks like this:
- *From here, every flange image that comes in gets a labeled result, a structured report, a plain-language recommendation, and a logged record, no extra steps needed.
Result #
Test case 1: Crack and multiple scratches, status fail
A crack near the bolt circle and three scratches, one near the top edge and two clustered on the right side, are detected on the same flange.
With high confidence, the image is classified as fail. The report captures all detected defects, while the recommendation summarizes the issue and suggests holding the component for manual review.
This is a clear fail case: multiple defects with high confidence and no uncertainty. The next test case should ideally fall in the review range (0.4-0.6) to demonstrate the middle tier.
Test case 2: Single low-confidence scratch, status review
A single scratch is detected near the top of the flange, just outside the bolt circle.
This case falls in the review range. The Workflow sends it for human inspection instead of forcing a pass or fail, with the recommendation calling for a closer look.
This is exactly what the review tier is for: a real detection that is not confident enough for an automatic decision.
Test case 3: Clean flange, status pass
A flange with no visible scratches, cracks, dents, or pinholes returns no bounding boxes at all, confirming the filter fix from earlier is working as intended.
With no defects detected, defect_count is 0 and max_confidence is 0, so the result is automatically classified as pass. The recommendation confirms a clean sealing surface with no further action needed.
- *That's all three tiers now: pass, review, and fail, each with a real result from the deployed Workflow.
Production Deployment #
The 0.4 and 0.6 thresholds are a starting point, not permanent rules. Every REVIEW case checked by a person can become new training data. Add those examples back to the dataset, retrain the model, and reduce the number of manual reviews over time.
Vision Events tracks more than just pass or fail. With batch IDs and camera metadata, teams can analyze defects by camera, shift, or station to find issues like poor lighting or equipment problems.
The quality_report supports downstream systems, while inspection_recommendation gives operators a quick summary. The Python block remains responsible for the final decision.
The same Workflow can run through the Roboflow API or on-device with
Roboflow Inference## How to Use Roboflow Agent for Flanges Quality Inspection
If you'd rather not configure each block by hand, Roboflow Agent can build this entire pipeline from a plain-text description. Describe your goal, for example:
Fork a flange defect dataset from Universe, train an RF-DETR Small model on
it, and build a Workflow that detects scratches, cracks, dents, and pinholes,
translates the class labels to English, classifies each image as pass,
review, or fail by confidence, and logs every inspection to Vision Events.
The Agent forks the dataset, starts the training run, and assembles the Workflow with the detection, translation, triage, and logging blocks connected, and you review each step in the chat instead of the editor. It's also the fastest way to iterate: when your REVIEW queue surfaces a weak class, telling the Agent to add those images and retrain is one instruction. The video below shows the Agent building the flange inspection pipeline.
Conclusion #
This Workflow takes a flange image, runs it through a custom RF-DETR model, and returns pass, review, or fail with a labeled image and a clear recommendation.
The setup is designed to improve over time. Confidence thresholds, defect classes, and the dataset can evolve as new REVIEW cases are collected and added back into training. The Workflow stays the same; only the model gets better.
The same approach can be reused for other inspection tasks. Swap in a new defect dataset and model, while keeping the same triage, visualization, and logging pipeline.
Further reading:
Cite this Post
Use the following entry to cite this post in your research:
Mostafa Ibrahim. (Jul 22, 2026). Flanges Quality Inspection with Computer Vision. Roboflow Blog: https://blog.roboflow.com/flanges-uality-inspection/