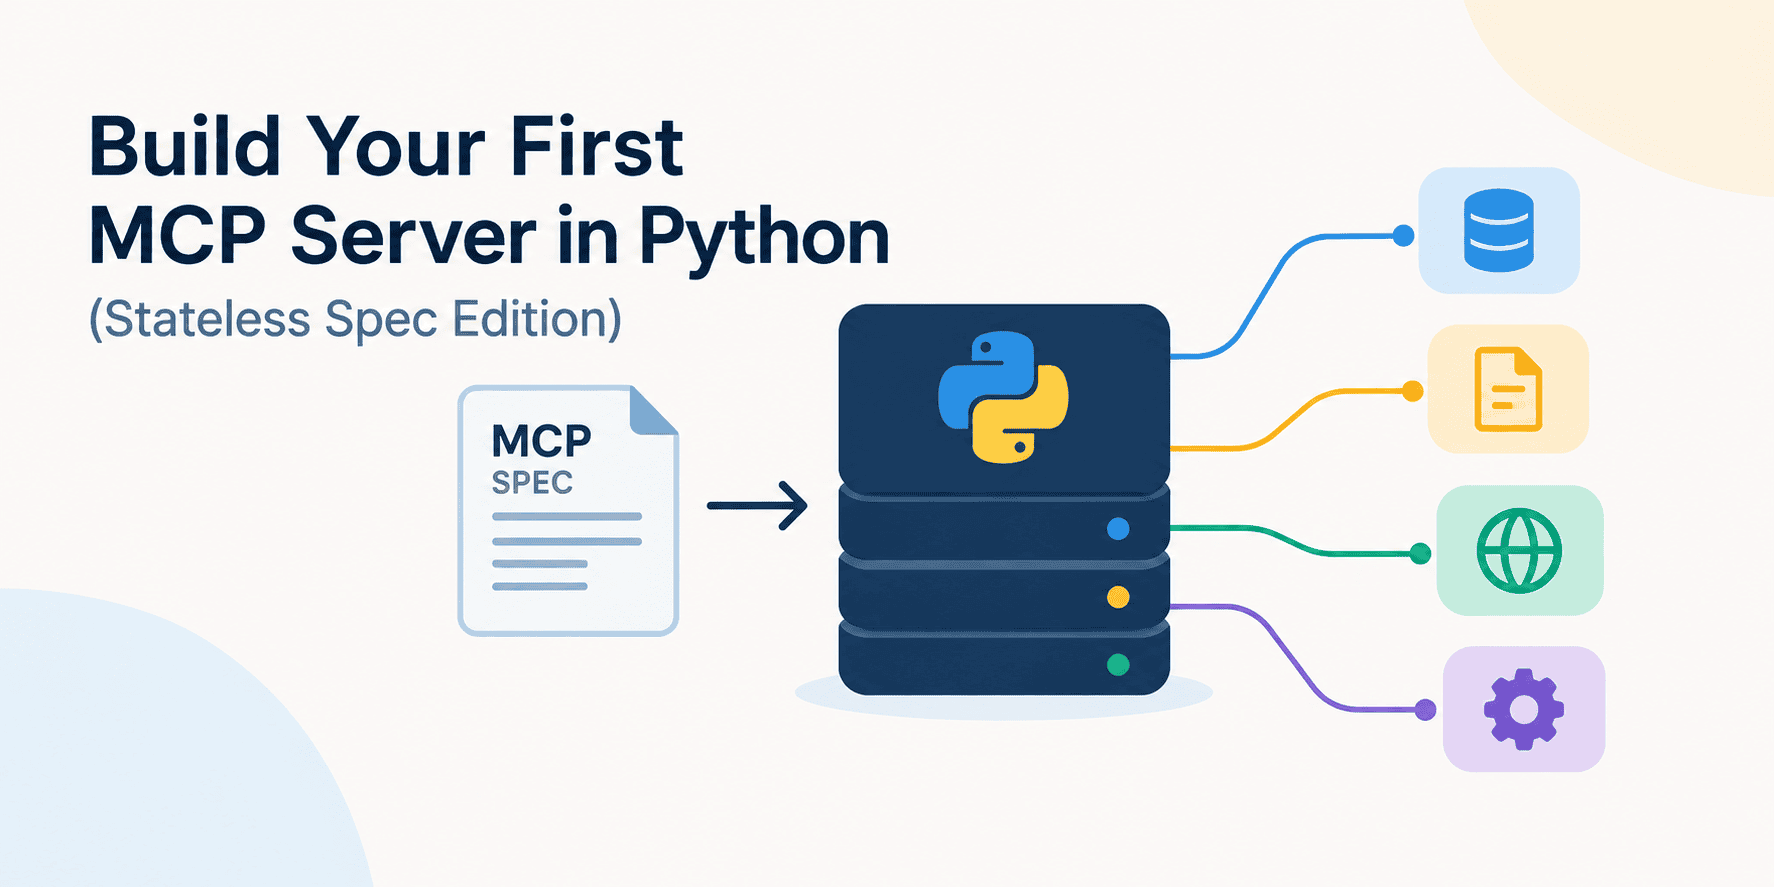
MCP just got simpler. Learn how to build a stateless MCP server in Python and expose tools, resources, and prompts over HTTP.
The Model Context Protocol changed in an important way this summer. With the 2026-07-28 MCP specification, the protocol core is now stateless: modern clients no longer need to establish a protocol session before making requests, and servers no longer rely on Mcp-Session-Id for ordinary requests. That makes MCP servers much easier to scale behind normal HTTP infrastructure.
At the same time, the official Python SDK has moved to v2 as its current stable line and provides a higher-level MCPServer API for defining tools, resources, and prompts with regular Python functions.
In this tutorial, we will build a small but complete MCP server in Python, run it over Streamable HTTP, inspect it locally, and connect to it with a Python MCP client. Let's get started.
What Are We Building? #
We will create a small developer knowledge-base server.
It will expose three MCP primitives:
Tool:
    search_kb(query, limit)

Resource:
    kb://articles

Prompt:
    draft_support_reply(customer_message)
The server will contain no user session state. Every request will contain everything required to process it, which makes it a good example of the new stateless MCP model.
Conceptually:
LLM Host
   |
   | MCP request
   v
+-----------------------+
| Python MCP Server     |
|                       |
| search_kb()           |
| kb://articles         |
| draft_support_reply() |
+-----------------------+
Step 1: Creating the Project #
The current Python SDK requires Python 3.10 or newer. The official documentation recommends installing the CLI extra because it gives us the development command and MCP Inspector workflow.
Using uv:
mkdir first-mcp-server
cd first-mcp-server

uv init
uv add "mcp[cli]"
Or with pip:
pip install "mcp[cli]"
Your project can be as small as:
first-mcp-server/
├── server.py
└── client.py
No framework boilerplate is required.
Step 2: Creating Your First MCP Server #
Create server.py:
from mcp.server import MCPServer

mcp = MCPServer(
    "Developer Support KB",
    instructions=(
        "Use the knowledge-base tools to answer support questions. "
        "Prefer retrieved KB information over guessing."
    ),
)
MCPServer is the high-level server API in the current Python SDK. For most servers, this is the API you want. The SDK also exposes a lower-level Server class, but that is intended for cases where you need exact control over schemas, protocol metadata, or custom methods.
Now let's give our server some data.
ARTICLES = [
    {
        "id": "python-env",
        "title": "Creating a Python virtual environment",
        "body": (
            "Create a virtual environment with `python -m venv .venv`, "
            "then activate it before installing dependencies."
        ),
    },
    {
        "id": "reset-password",
        "title": "Resetting your password",
        "body": (
            "Open Account Settings, choose Security, and select "
            "Reset Password. A verification email will be sent."
        ),
    },
    {
        "id": "api-rate-limit",
        "title": "Understanding API rate limits",
        "body": (
            "API rate limits restrict the number of requests allowed "
            "within a time window. Clients should retry using "
            "exponential backoff after receiving a rate-limit response."
        ),
    },
]
So far this is just Python.
The interesting part begins when we expose functions through MCP.
Step 3: Adding an MCP Tool #
An MCP tool is a function the model can decide to call.
Add this to server.py:
@mcp.tool()
def search_kb(query: str, limit: int = 3) -> list[dict[str, str]]:
    """Search the support knowledge base.

    Args:
        query: Words or phrases to search for.
        limit: Maximum number of articles to return.
    """
    query = query.lower()

    matches = []

    for article in ARTICLES:
        searchable_text = (
            article["title"] + " " + article["body"]
        ).lower()

        if query in searchable_text:
            matches.append(article)

    return matches[:limit]
Notice what we did not write.
There is no JSON Schema.
There is no manually written tool manifest.
There is no argument parser.
The SDK derives the tool definition from the Python function itself. Its type hints become the MCP input schema, and defaults such as:
limit: int = 3
make parameters optional in the generated schema. The official SDK documentation uses exactly this pattern. Conceptually, your function:
def search_kb(
    query: str,
    limit: int = 3
)
becomes something similar to:
{
  "name": "search_kb",
  "inputSchema": {
    "type": "object",
    "properties": {
      "query": {
        "type": "string"
      },
      "limit": {
        "type": "integer",
        "default": 3
      }
    },
    "required": ["query"]
  }
}
This is one of the reasons MCP development in Python feels pleasantly ordinary: your function signature is effectively your interface definition.
Step 4: Adding a Resource #
Tools are actions the model can call.
Resources are different. They expose information that the host application can load into context.
Add:
@mcp.resource("kb://articles")
def list_articles() -> str:
    """Return the available knowledge-base articles."""
    lines = []

    for article in ARTICLES:
        lines.append(
            f"{article['id']}: {article['title']}"
        )

    return "\n".join(lines)
The resource has the URI:
kb://articles
A client can read it without invoking a tool.
Resource ≈ data that can be read
Tool     ≈ function that can perform work
The SDK documentation roughly compares resources with GET-like behavior and tools with action-oriented POST-like behavior.
Step 5: Adding an MCP Prompt #
We can also expose a reusable prompt template.
@mcp.prompt()
def draft_support_reply(customer_message: str) -> str:
    """Create a prompt for drafting a concise support response."""

    return f"""
You are a technical support assistant.

Write a concise and helpful response to this customer message:

{customer_message}

Use the support knowledge base when relevant.
Do not invent product policies.
""".strip()
Again, this is just a Python function plus a decorator.
Prompts are generally initiated by the user or host rather than autonomously invoked by the model. The current SDK supports tools, resources, and prompts through the same decorator-oriented server interface.
At this point, server.py looks like this:
from mcp.server import MCPServer

mcp = MCPServer(
    "Developer Support KB",
    instructions=(
        "Use the knowledge-base tools to answer support questions. "
        "Prefer retrieved KB information over guessing."
    ),
)

ARTICLES = [
    {
        "id": "python-env",
        "title": "Creating a Python virtual environment",
        "body": (
            "Create a virtual environment with `python -m venv .venv`, "
            "then activate it before installing dependencies."
        ),
    },
    {
        "id": "reset-password",
        "title": "Resetting your password",
        "body": (
            "Open Account Settings, choose Security, and select "
            "Reset Password. A verification email will be sent."
        ),
    },
    {
        "id": "api-rate-limit",
        "title": "Understanding API rate limits",
        "body": (
            "API rate limits restrict the number of requests allowed "
            "within a time window. Clients should retry using "
            "exponential backoff after receiving a rate-limit response."
        ),
    },
]

@mcp.tool()
def search_kb(
    query: str,
    limit: int = 3,
) -> list[dict[str, str]]:
    """Search the support knowledge base."""

    query = query.lower()

    matches = []

    for article in ARTICLES:
        searchable_text = (
            article["title"] + " " + article["body"]
        ).lower()

        if query in searchable_text:
            matches.append(article)

    return matches[:limit]

@mcp.resource("kb://articles")
def list_articles() -> str:
    """Return the available knowledge-base articles."""

    return "\n".join(
        f"{article['id']}: {article['title']}"
        for article in ARTICLES
    )

@mcp.prompt()
def draft_support_reply(
    customer_message: str,
) -> str:
    """Create a support-response prompt."""

    return f"""
You are a technical support assistant.

Write a concise and helpful response to this customer message:

{customer_message}

Use the support knowledge base when relevant.
Do not invent product policies.
""".strip()

if __name__ == "__main__":
    mcp.run("streamable-http")
That is a complete network-accessible MCP application.
Step 6: Running It in Development Mode #
For development, the SDK includes a convenient command:
uv run mcp dev server.py
The MCP development command launches the server with MCP Inspector support, giving you a UI for listing and invoking tools. The official SDK recommends this as the basic development loop.
Open the Inspector URL printed in your terminal.
You should see:
search_kb
under Tools.
Try calling it with:
{
  "query": "rate limit"
}
The result should contain:
[
  {
    "id": "api-rate-limit",
    "title": "Understanding API rate limits",
    "body": "API rate limits restrict ..."
  }
]
You now have a working MCP server.
Step 7: Running It Over Streamable HTTP #
For an actual HTTP server, run:
uv run python server.py
By default, your MCP endpoint is exposed at:
http://127.0.0.1:8000/mcp
The SDK's Streamable HTTP server uses /mcp as its default endpoint.
If you prefer running it as a normal ASGI application, replace the __main__ block with:
app = mcp.streamable_http_app()
Then launch it with Uvicorn:
uvicorn server:app
This is particularly useful when MCP is one component inside a larger FastAPI or Starlette deployment. streamable_http_app() returns a standard Starlette-compatible ASGI app.
What Changed in the Stateless MCP Update? #
This deserves special attention because a lot of MCP tutorials online now describe the older lifecycle. Under older versions of the protocol, an HTTP client effectively did this:
Client
  |
  | initialize
  v
Server
  |
  | Mcp-Session-Id
  v
Client
  |
  | later request + session id
  v
Same logical session
This created a multi-instance deployment that often needed sticky routing or shared session infrastructure. The 2026-07-28 protocol changes that.
A modern MCP request is designed to be self-contained:
Request 1
   |
   v
Server A

Request 2
   |
   v
Server C

Request 3
   |
   v
Server B
No protocol session needs to tie those calls together. The MCP team explicitly describes this as moving from a bidirectional, stateful protocol core to a stateless request/response model. This makes ordinary load balancing much easier.
Writing a Python Client #
Let's verify the server without depending on a third-party AI application.
Create client.py:
import asyncio

from mcp import Client

async def main() -> None:
    async with Client(
        "http://127.0.0.1:8000/mcp"
    ) as client:

        print(
            "Protocol:",
            client.protocol_version,
        )

        tools = await client.list_tools()

        print("\nAvailable tools:")

        for tool in tools.tools:
            print("-", tool.name)

        result = await client.call_tool(
            "search_kb",
            {
                "query": "rate limit",
                "limit": 2,
            },
        )

        print("\nTool result:")

        if result.structured_content:
            print(result.structured_content)
        else:
            print(result.content)

if __name__ == "__main__":
    asyncio.run(main())
Run the server in one terminal:
uv run python server.py
Then run the client in another:
uv run python client.py
The v2 Client accepts an HTTP URL directly and automatically uses Streamable HTTP. It also exposes the negotiated protocol version, so with a current client/server pair you should see the modern protocol version reported by the connection.
Your output should be similar to mine:
Protocol: 2026-07-28

Available tools:
- search_kb

  {'result': [{'id': 'api-rate-limit', 'title': 'Understanding API rate limits', 'body': 'API rate limits restrict the number of requests allowed within a time window. Clients should retry using exponential backoff after receiving a rate-limit response.'}]}
But What If My Application Actually Needs State? #
"Stateless protocol" does not mean your application can never maintain state.
It means MCP itself no longer hides application state inside a protocol session.
Suppose you were building a shopping server. Instead of relying on:
MCP session 42 owns this basket
you could expose:
@mcp.tool()
def create_basket() -> dict[str, str]:
    basket_id = create_new_basket()

    return {
        "basket_id": basket_id
    }
Then later:
@mcp.tool()
def add_item(
    basket_id: str,
    product_id: str,
) -> dict:
    return add_product(
        basket_id,
        product_id,
    )
Now the model sees and passes:
basket_id
explicitly.
The MCP maintainers specifically recommend this explicit-handle pattern for application-level state under the new stateless protocol.
It is a subtle but useful architectural shift:
Old idea:
protocol remembers state

New idea:
application owns state
and identifiers travel explicitly
Scaling the Server #
The stateless core becomes particularly valuable when you deploy multiple workers.
For example:
uvicorn server:app --workers 4
A modern MCP request can be handled by any worker because the protocol no longer requires it to return to the worker that handled a previous request.
Conceptually:
              +--> Worker 1
Client --> LB +--> Worker 2
              +--> Worker 3
              +--> Worker 4
There are additional considerations for advanced features such as multi-round-trip interactions, shared subscription events, authorization, and distributed state, but those are application architecture concerns rather than a requirement of basic MCP tool execution.
Wrapping Up #
The practical shift here is smaller than the spec diff makes it look: you still decorate functions with @mcp.tool(), you still return dicts and let the framework build the result, and you still run mcp.run() to serve it. What's different is what happens underneath. You don't need any handshake to negotiate, no session to keep warm, no sticky routing to configure. Get comfortable with MCPServer, keep stdout clean, and the rest of the stateless spec mostly stays out of your way.
[Kanwal Mehreen](https://www.linkedin.com/in/kanwal-mehreen1/) is a machine learning engineer and a technical writer with a profound passion for data science and the intersection of AI with medicine. She co-authored the ebook "Maximizing Productivity with ChatGPT". As a Google Generation Scholar 2022 for APAC, she champions diversity and academic excellence. She's also recognized as a Teradata Diversity in Tech Scholar, Mitacs Globalink Research Scholar, and Harvard WeCode Scholar. Kanwal is an ardent advocate for change, having founded FEMCodes to empower women in STEM fields.